Document Specifications
On the document management screen, you can define various rules and properties for your repositories and folders. For this, you should use the properties menu.
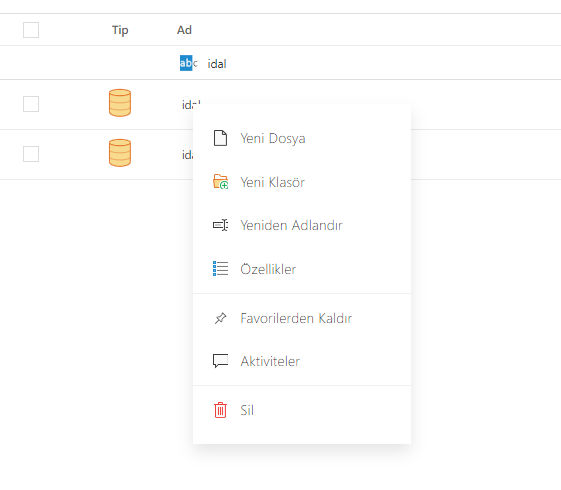
To access the properties menu, simply right-click on the repository or folder you want to define and click on the properties item.

On the screen that opens, you can define and view the properties for the repository and folder under the main headings of General, Metadata, Directory Settings, New File, Details, respectively.
Document Properties menus
General
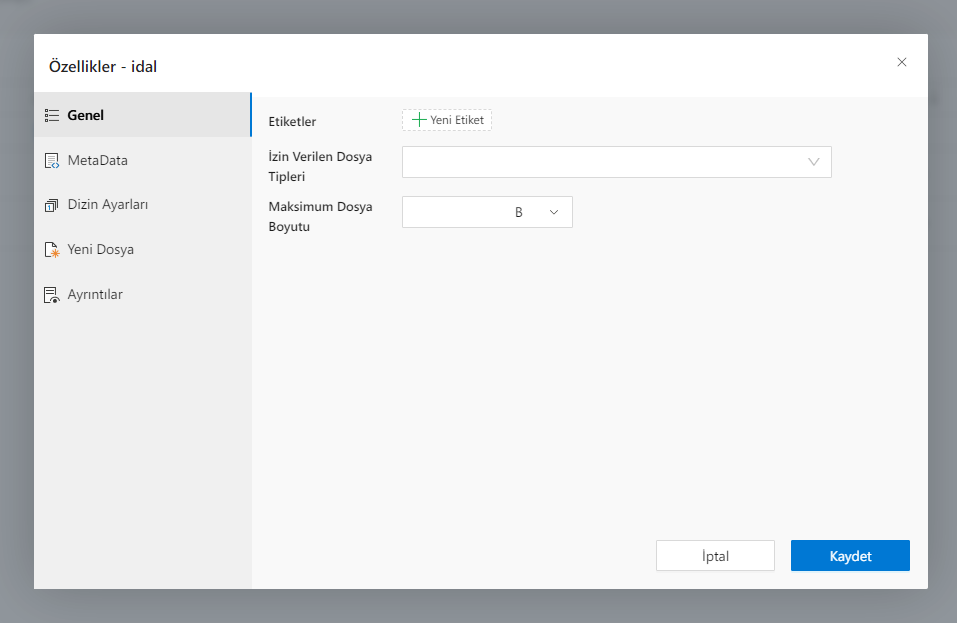
Under the General menu, we first see the label part. From here, you can define a custom label for the repository and folder. You can use these tags in your searches and filters within document management.
If you want certain file formats to be uploaded to your repository or folder, you can use the Allowed file types section. From the selection box, you will only need to select which file types you want to allow, their mimetype information.
The maximum file size section, as the name suggests, is a feature that you can use if you want the files uploaded to your repository or folder not to exceed a certain size. For example, if you want to upload files larger than 1 megabyte to my folder, just set it to 1 and MB.
Metadata

The MetaData menu is a menu that you can use if you want to have the user fill out a certain form during the stages of creating folders or uploading files to your repositories and folders.
Users fill out the forms you specify along with new folders and files. The completed form data is saved together with the folders and files. You can then see this form data by saying Show folder and form profile. You can access the files and folders they are linked to by searching the form data on the document management search screen.
In this section, you can specify a new project and form by pressing the Profiles plus (+) button. After selecting the project and its form, you can determine the necessity of filling out the form by checking the "Required" box. Then, from the "Type" column, you can specify whether these form screens will be shown to the user when the folder is created, the file is uploaded, or both.
You can define more than one Project Form. When you are done with your identification, you can save your transaction by clicking the Arrow at the beginning of the line.
In the Fields section, you can choose which areas of the selected forms will appear on the grid screen. You can make multiple selections. After each selection, you can save your selection by clicking the Ok button.
As the last step, you need to click on the Save button at the bottom.
> Note: By default, your actions on the MetaData and Directory Settings menus also apply to subdirectories. Thanks to "Get from Parent Index", you don't need to bother to make these adjustments again in subdirectories. If you want to make different settings in subdirectories, just uncheck the "Get from Parent Directory" box.
Directory Settings
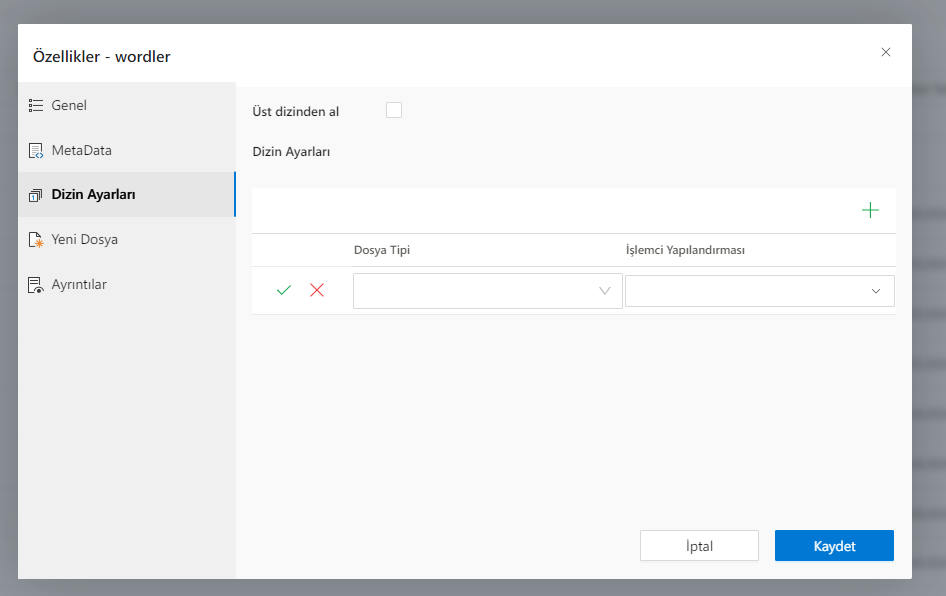
CSP Document Management allows you to make OCR on your files. By making adjustments from the Directory Settings menu of your repository or folder, you can get the content of the files you upload in plain text and save them to the system. Then you can perform a search operation all text from the Document Management search screen. By searching for a single phrase in your file, you can access all the files in which the relevant phrase appears.
From the directory settings menu, first of all, you need to uncheck the Get from Parent Directory box, if any. (We'll talk about what the Get from Parent Directory sign is at the end of the page.) From the "File Type" section, you must select which file types you want to search all text. From the processor configuration, you must choose which processor you want to use. Then click the Ok button.
You can enter more than one record.
Save your settings by clicking the "Save" button at the end of the page. Now, ocr is performed on the files you upload.
> With the OCR process, automatic artificial intelligence-supported categorization is also performed on the uploaded files.
> Note: By default, your actions on the MetaData and Directory Settings menus also apply to subdirectories. Thanks to "Get from Parent Index", you don't need to bother to make these adjustments again in subdirectories. If you want to make different settings in subdirectories, just uncheck the "Get from Parent Directory" box.
New File
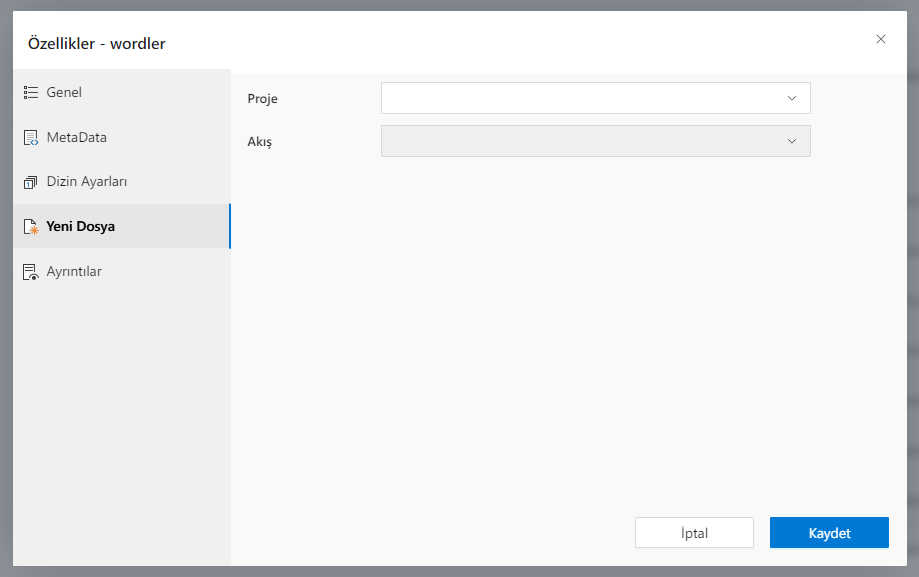
CSP Document Management offers you the opportunity to automatically trigger the flow you want with the file you upload.
To do this, simply select your project and flow from the New File menu and press the "Save" button.
Note: Your feed must have the following variables.
StartedFrom(string),
CreatedFileId (long),
CreatedFilePath (string)
Details
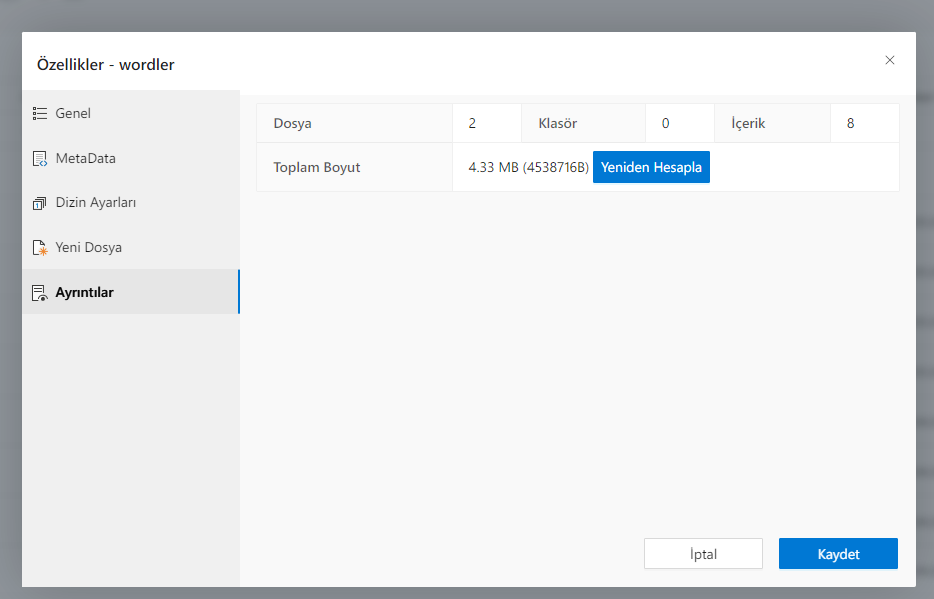
CSP Document Management allows you to see the total size of your repositories and folders in both the number of items and mbs.
To do this, simply click on the "Calculate" button from the "Details" menu.