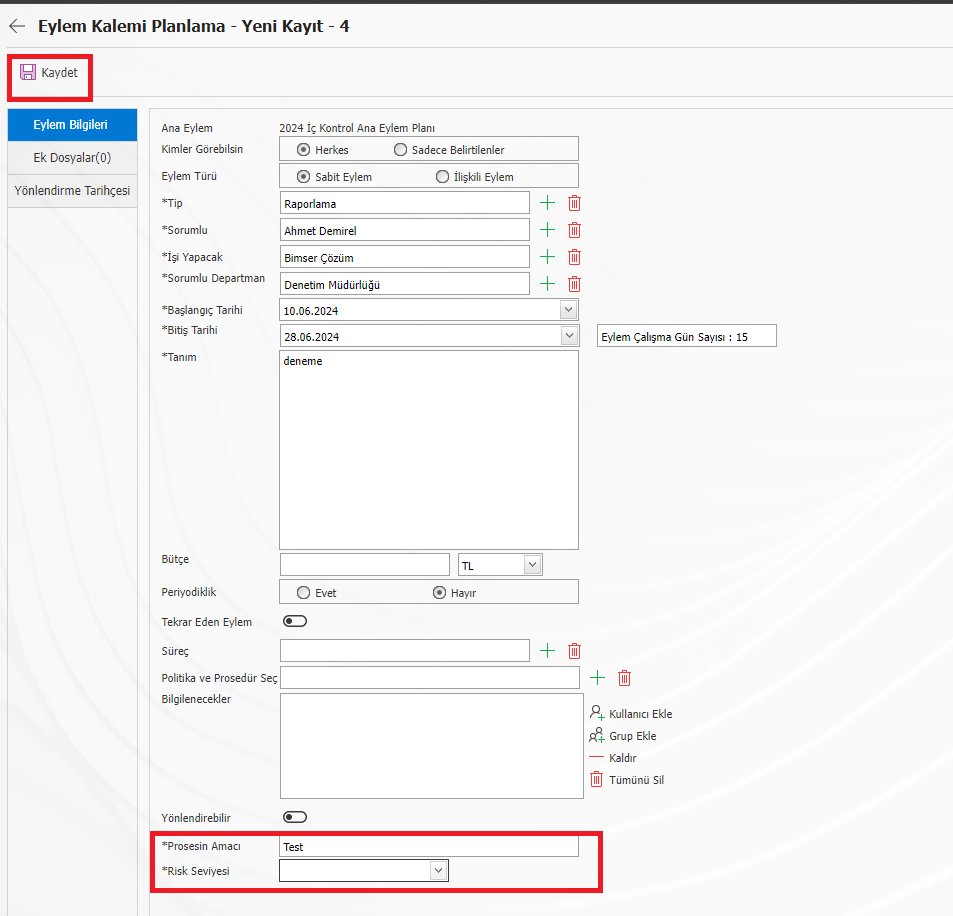
Defining a Parametric Field Based on the Action Source
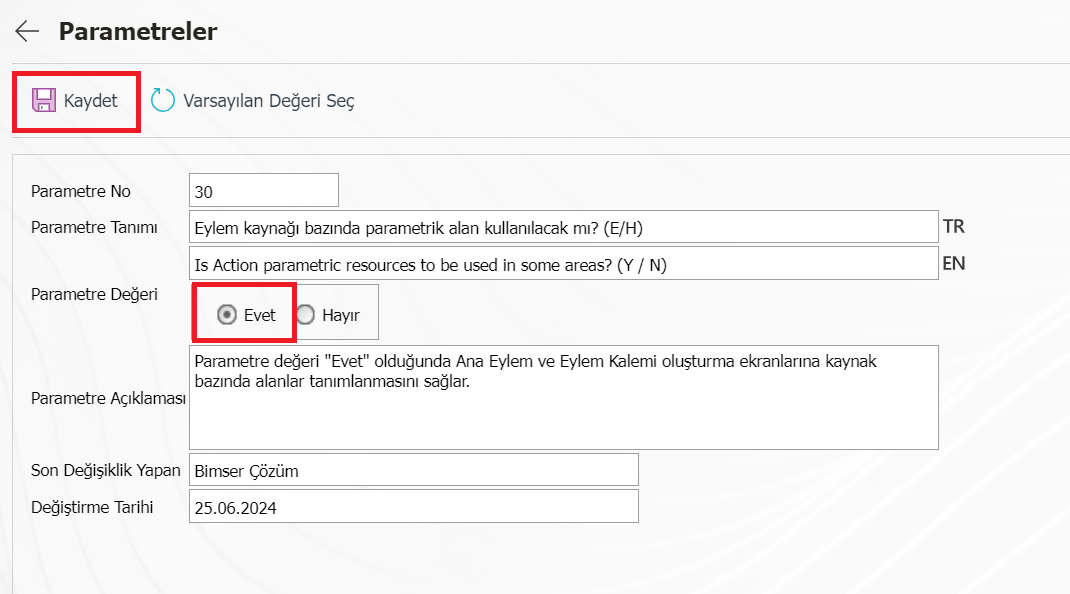
In the Action Planning module, resource-based special fields can be defined for the action items defined in the main action plan, depending on the action source selected in the main action plan. The first step to do this is to open the System Infrastructure Definitions > Action Planning > Action Parameters menu. Search for parameter 30 in the parameter no field. Will the parametric field be used on the basis of Action source No. 30? Update the parameter by clicking the change button at the top left. Mark the parameter value Yes and click the save button at the top left.
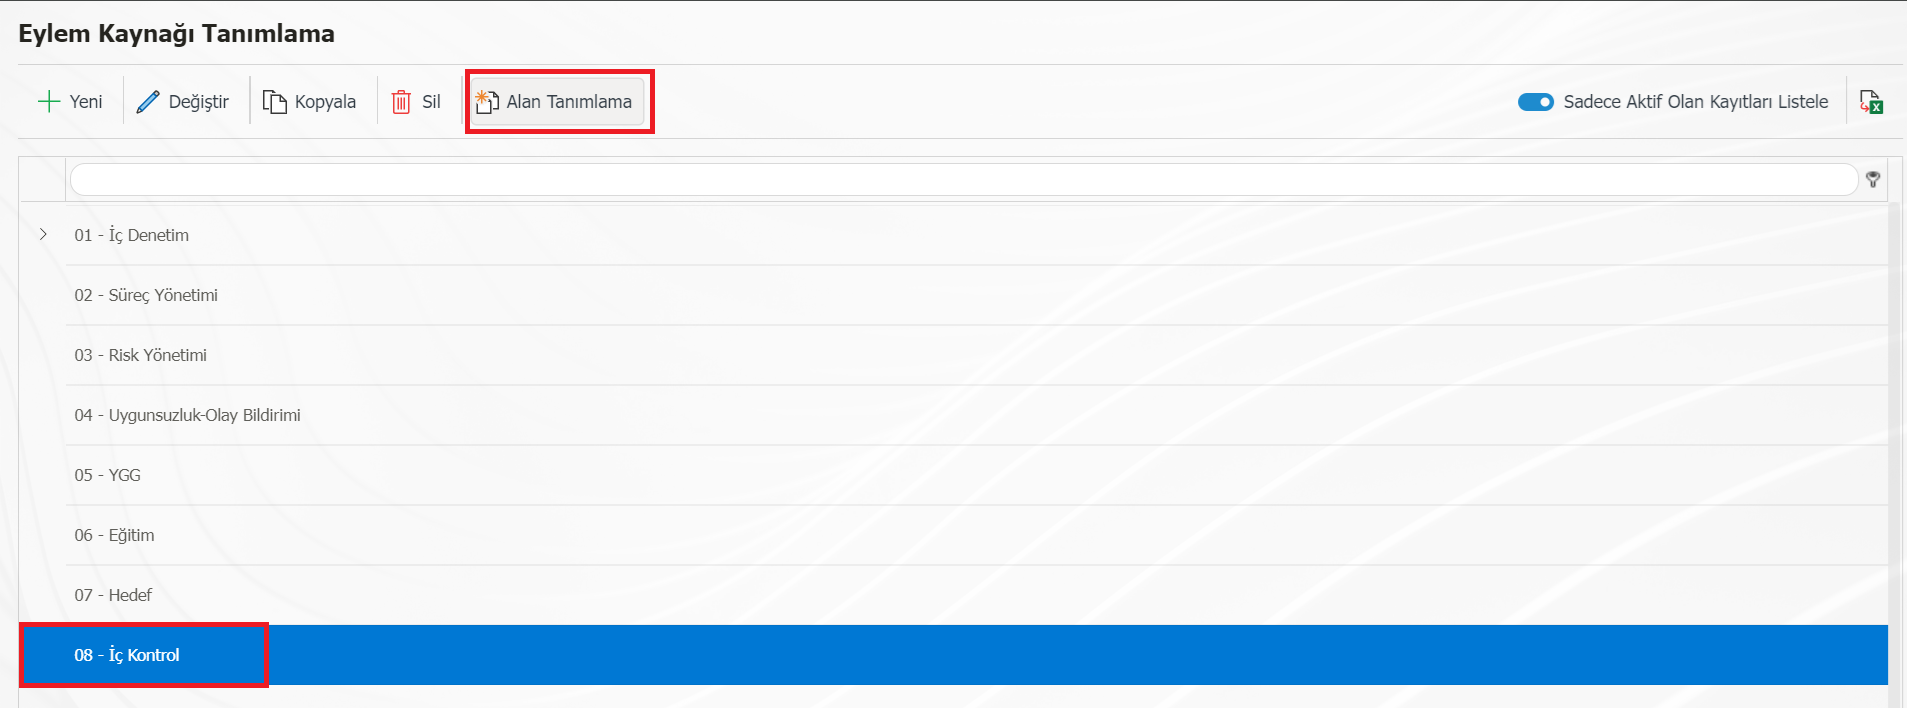
The second step is to identify the source of the action. To do this, open the System Infrastructure Definitions > Action Planning > Action Resource Definition menu. With the new button at the top left, you can define a new resource or define a field for an existing action resource that you have previously defined. Select the defined action source in the list and click the "Field Identification" button in the buttons area at the top.
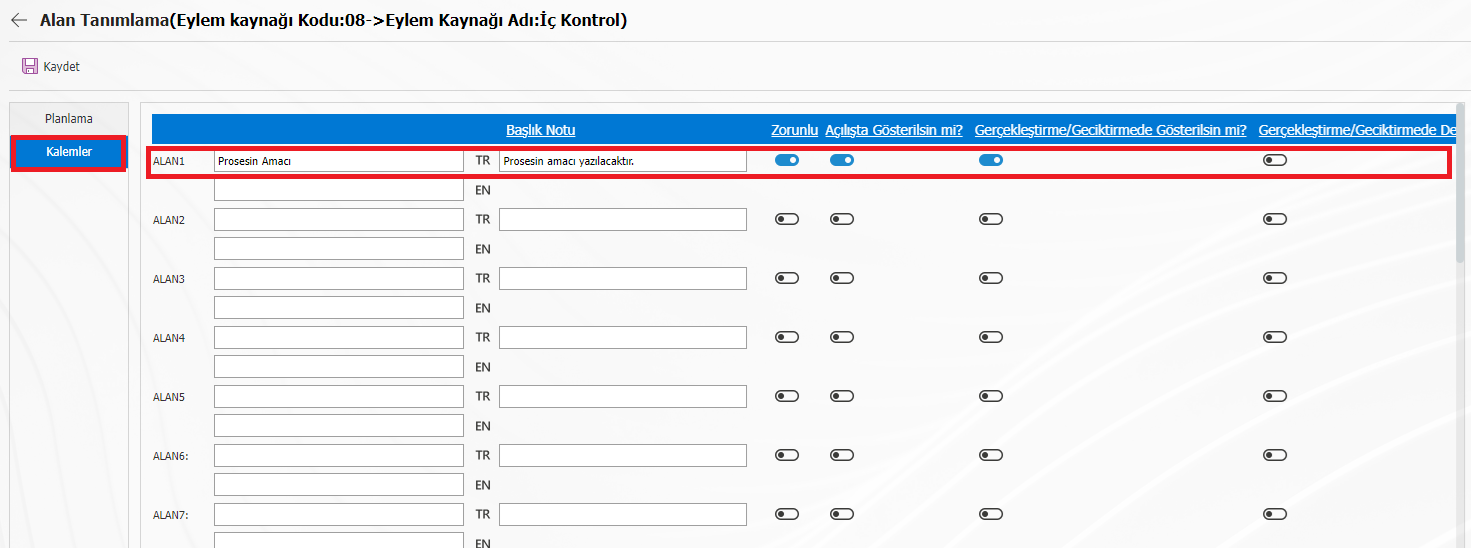
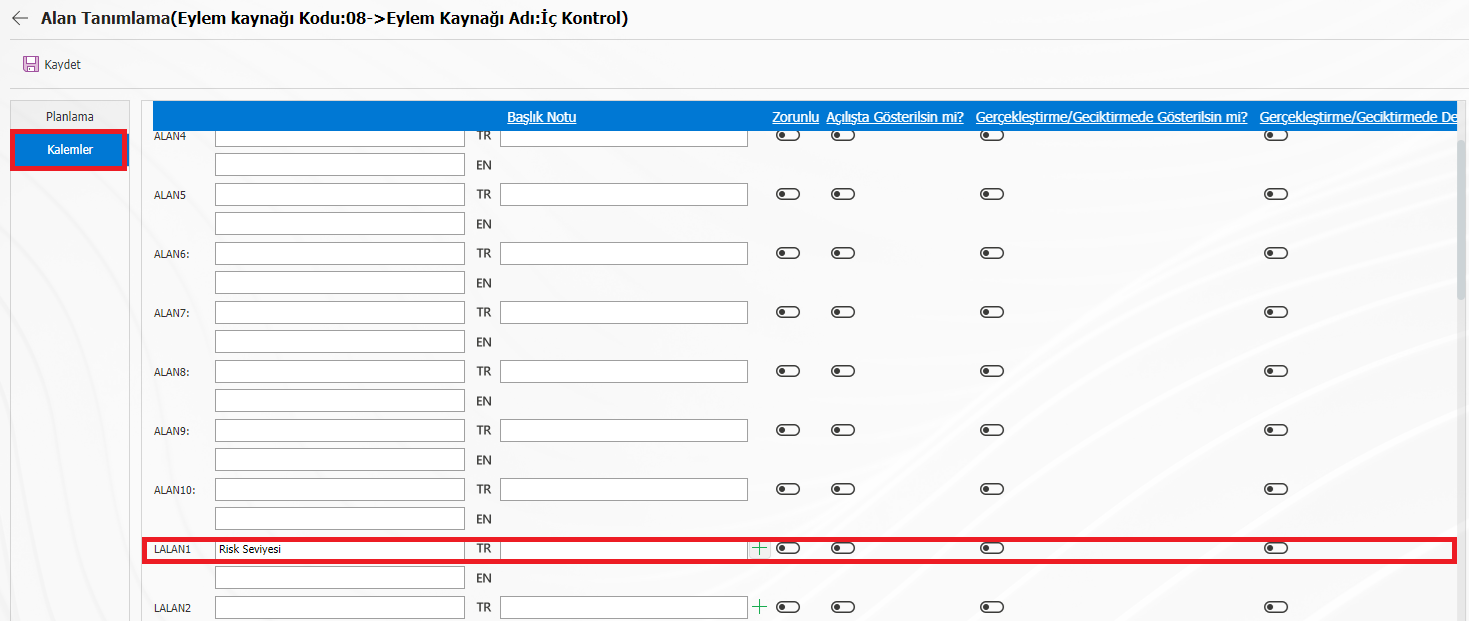
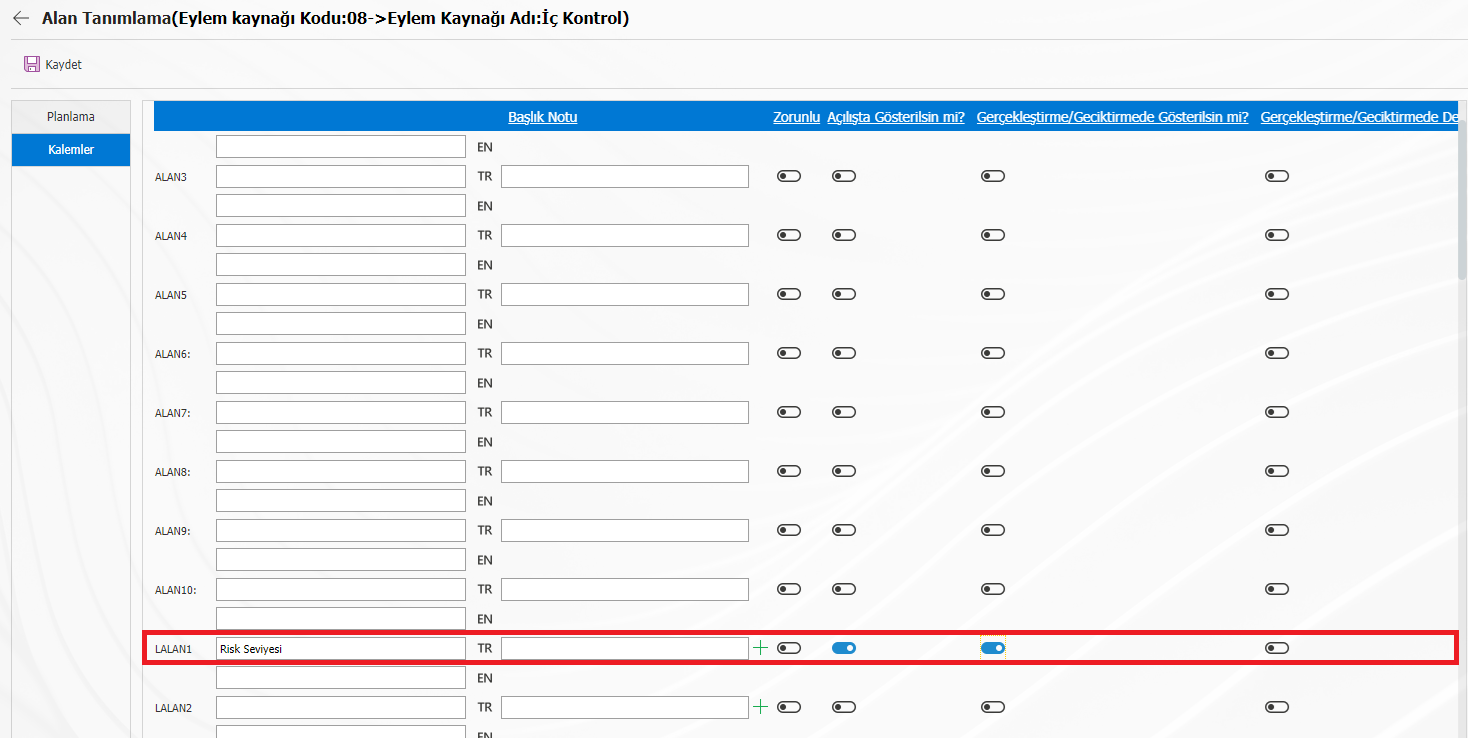
On the page that opens, there are Planning and Items tabs on the left. If you want, you can add fields with custom text, list, numeric, department, personnel or query type to the Action Master Plan screen or to the Action Item Planning page. For example, on the Action Item Planning page, text and list-type fields will be defined to display a special parametric field. Select the Items tab on the left side of the field definition page. In the FIELD1 box, type the name of the "text type" field you want to define. You can add a note to the title note field if you wish. You can select the options on the right side of the page depending on the field you have defined. Determine the sequence number.
To add a list-type field, define it in the LALAN1 field. Save your list values by clicking the + button in the field in the title note column. You can select the options on the right side of the page depending on the field you have defined. Determine the sequence number.
Click the new button at the top left of the Add List Element page and save your list values. You can assign any ID number to the ID field.
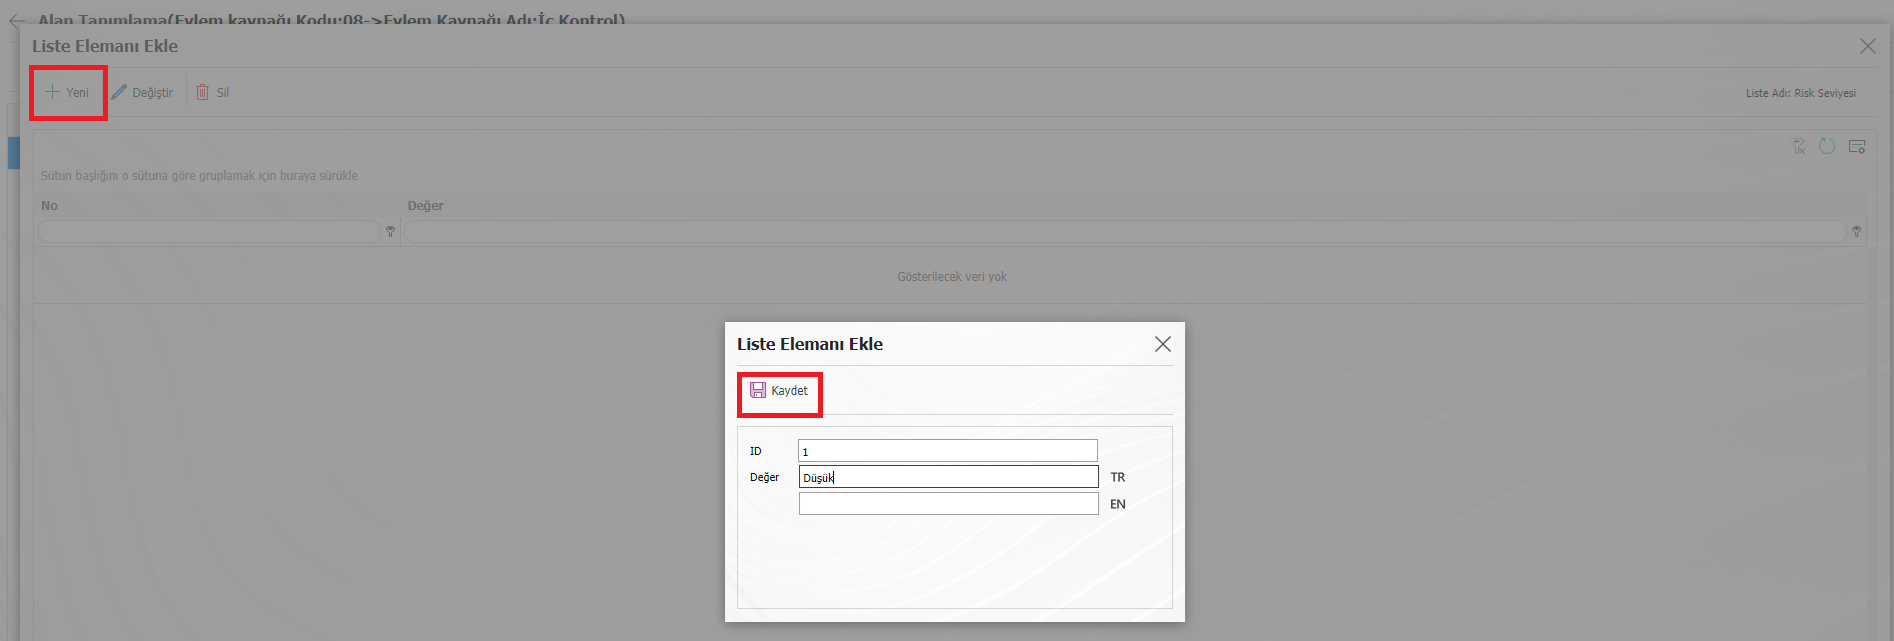

After defining the list elements, close the page with the cross button at the top left. Your list values have been defined.
After defining the area definition processes, open the GRC Management System > Action Planning > Planning menu. On the Action Planning page, click the + button at the top left to add the Main Action Plan. On the Action Planning – New Registration page that opens, fill in the relevant fields and save.
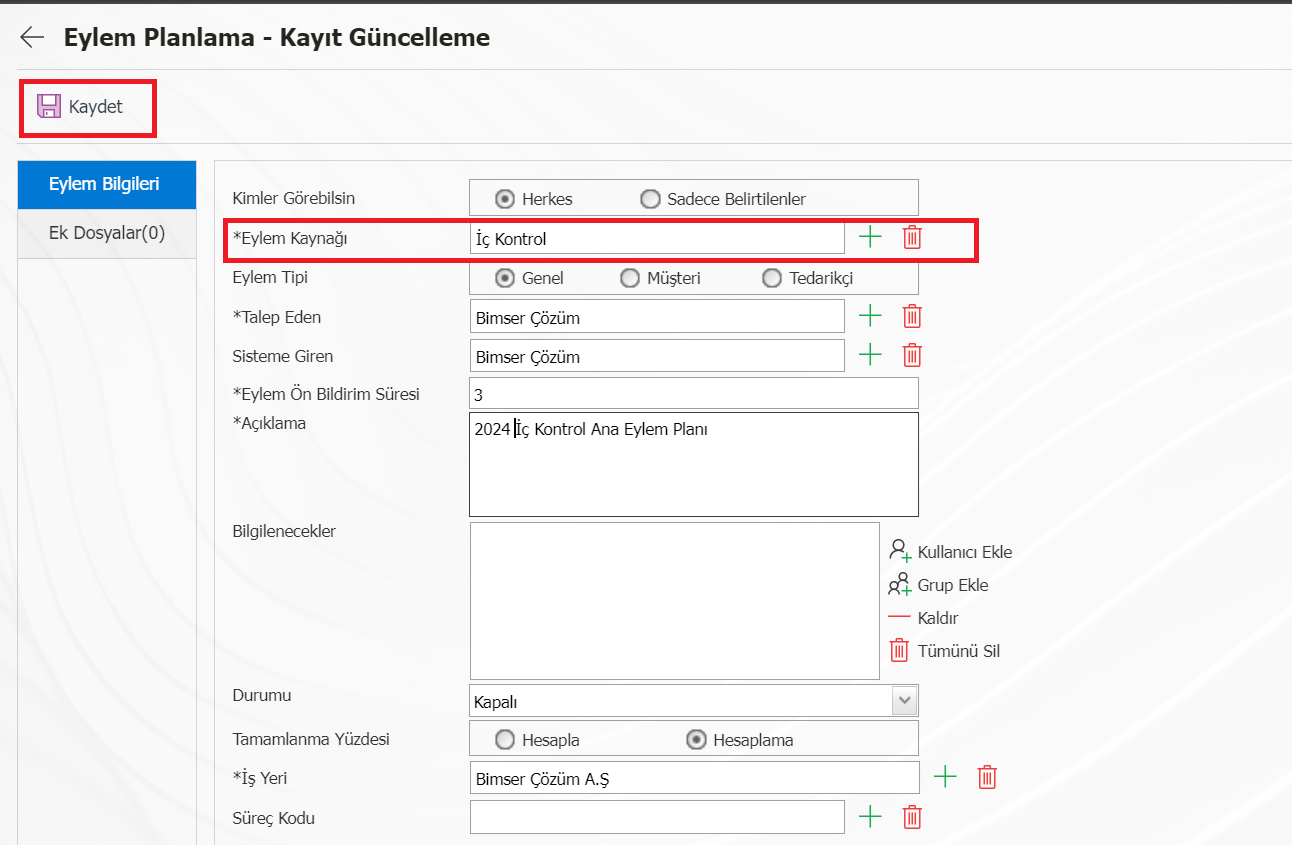
While the main action plan you have created is selected in the list, click on the items button above. Define an action item with the new button. Fill in the relevant fields on the action item planning-new registration screen that opens. At the bottom of the screen, you can view the parametric fields that you have defined depending on the Action Source. These fields will only be displayed when the corresponding action source is selected.
