Expense Types Parametric Form Design
The fields in the Parametric Form where expense types can be dynamically added and edited are as follows;
| Expense Types Table | It is the table where Expense Types can be added and edited. It consists of 2 columns as Id and Expense Type |
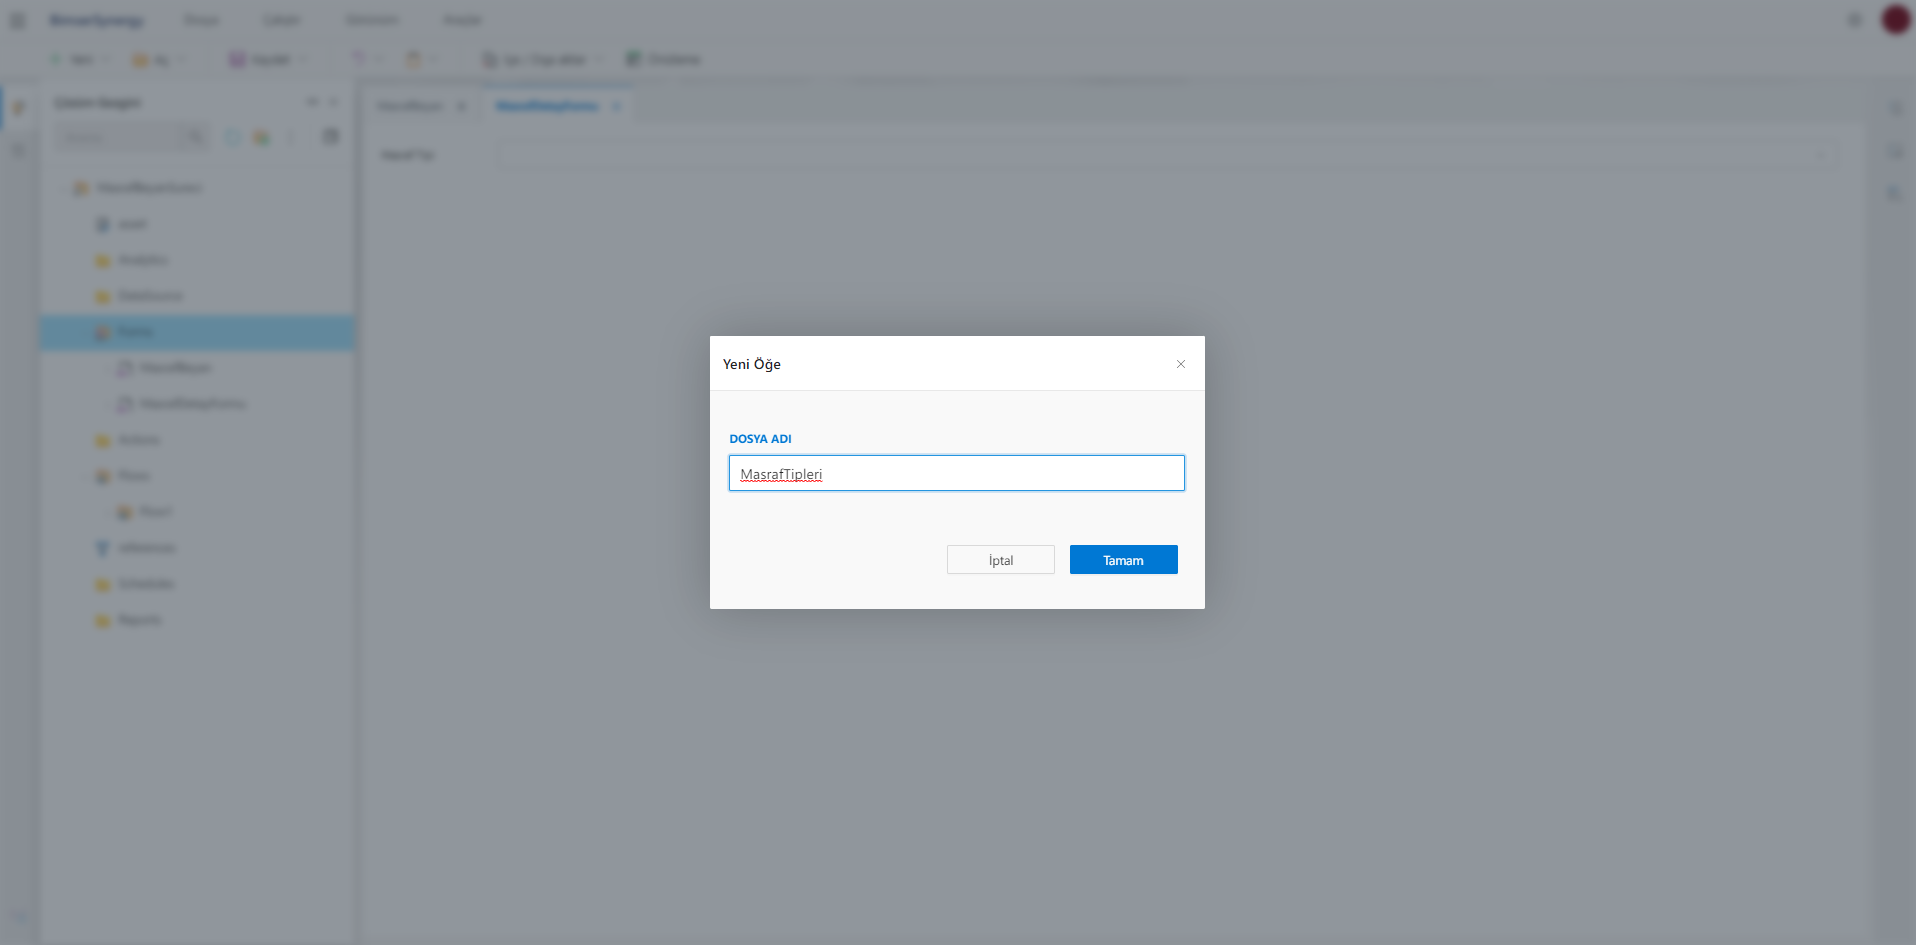
To create the form, right-click on the Forms folder in the solution explorer and select the CSP App Form, and then enter the file name of the form as "ChargeTypes".
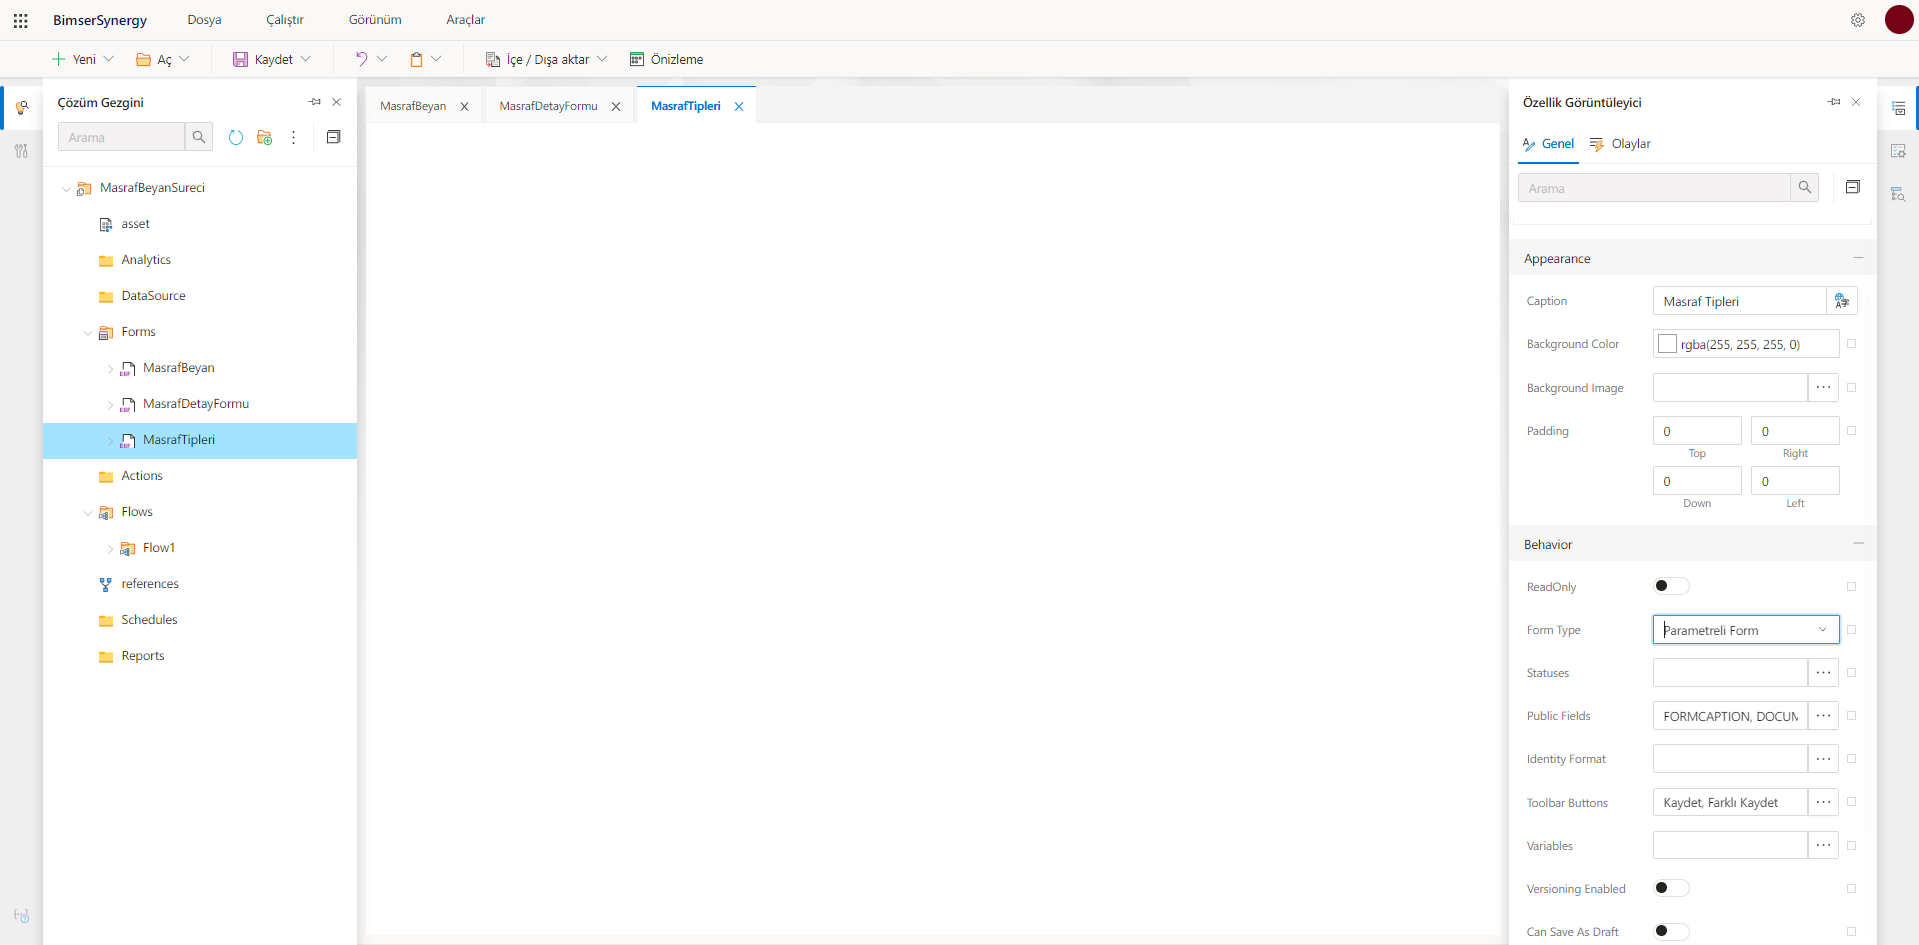
The form's caption field is arranged as Expense Types, and Parameterized Form is selected from the Form Type field.
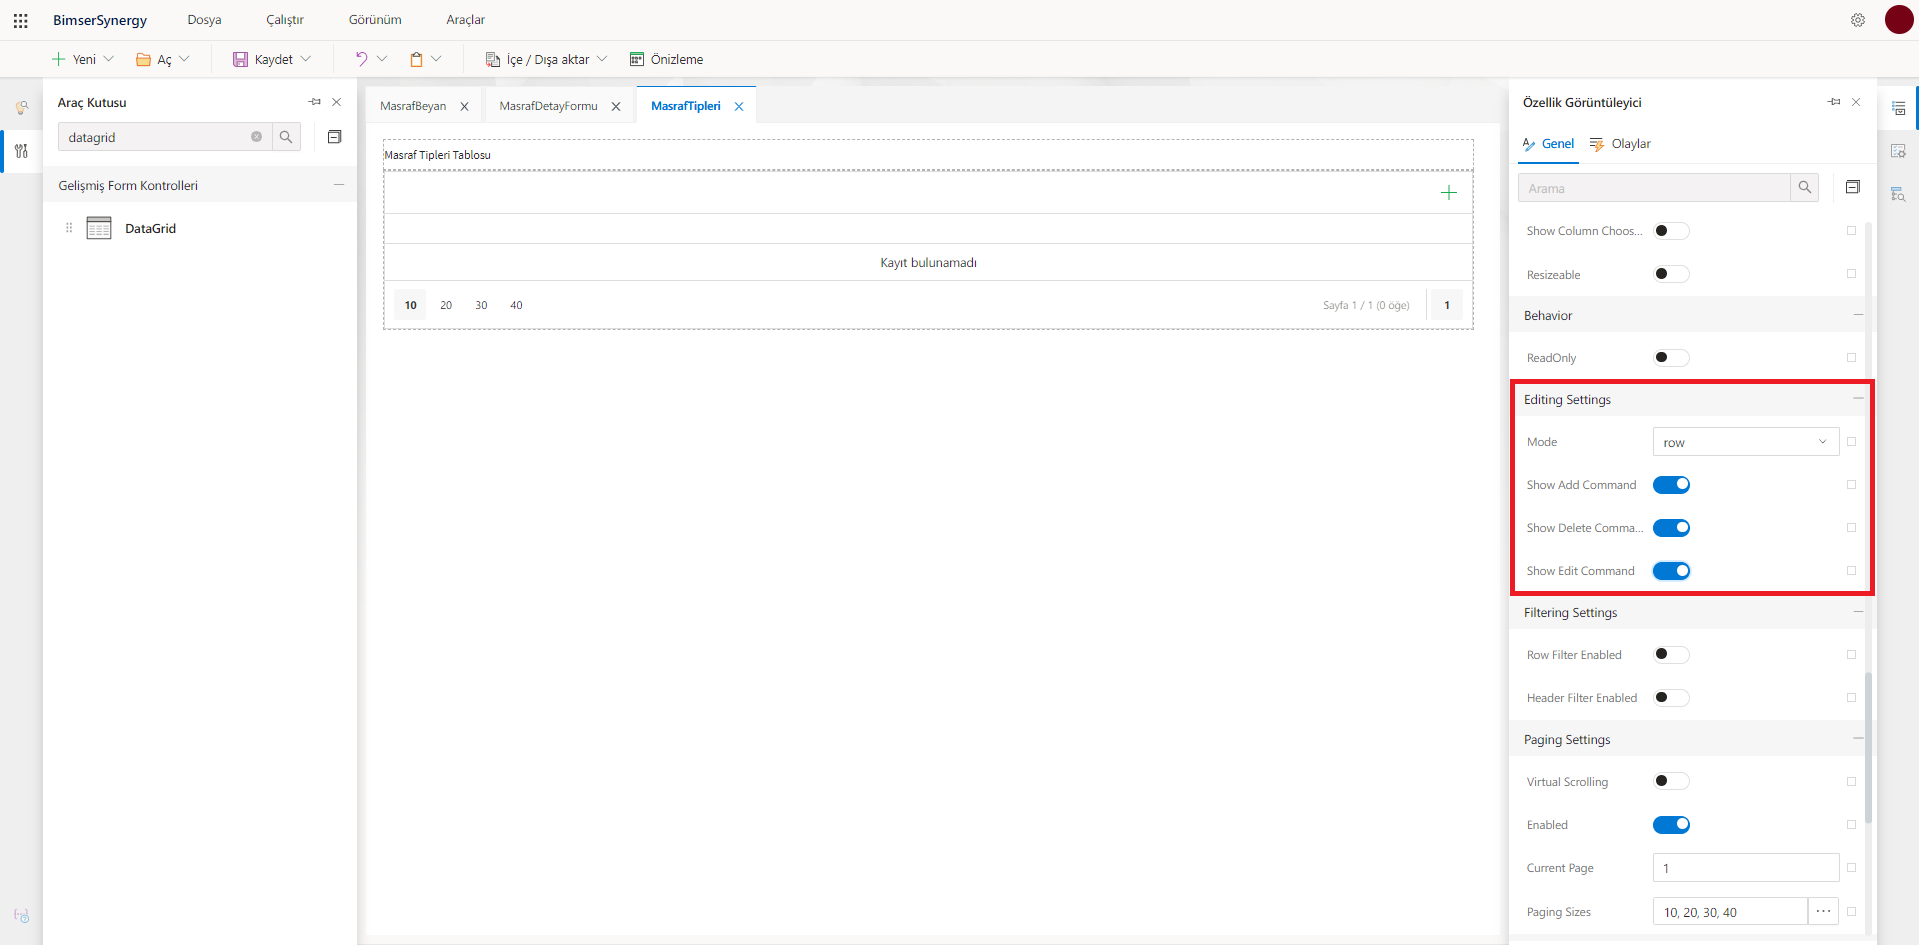
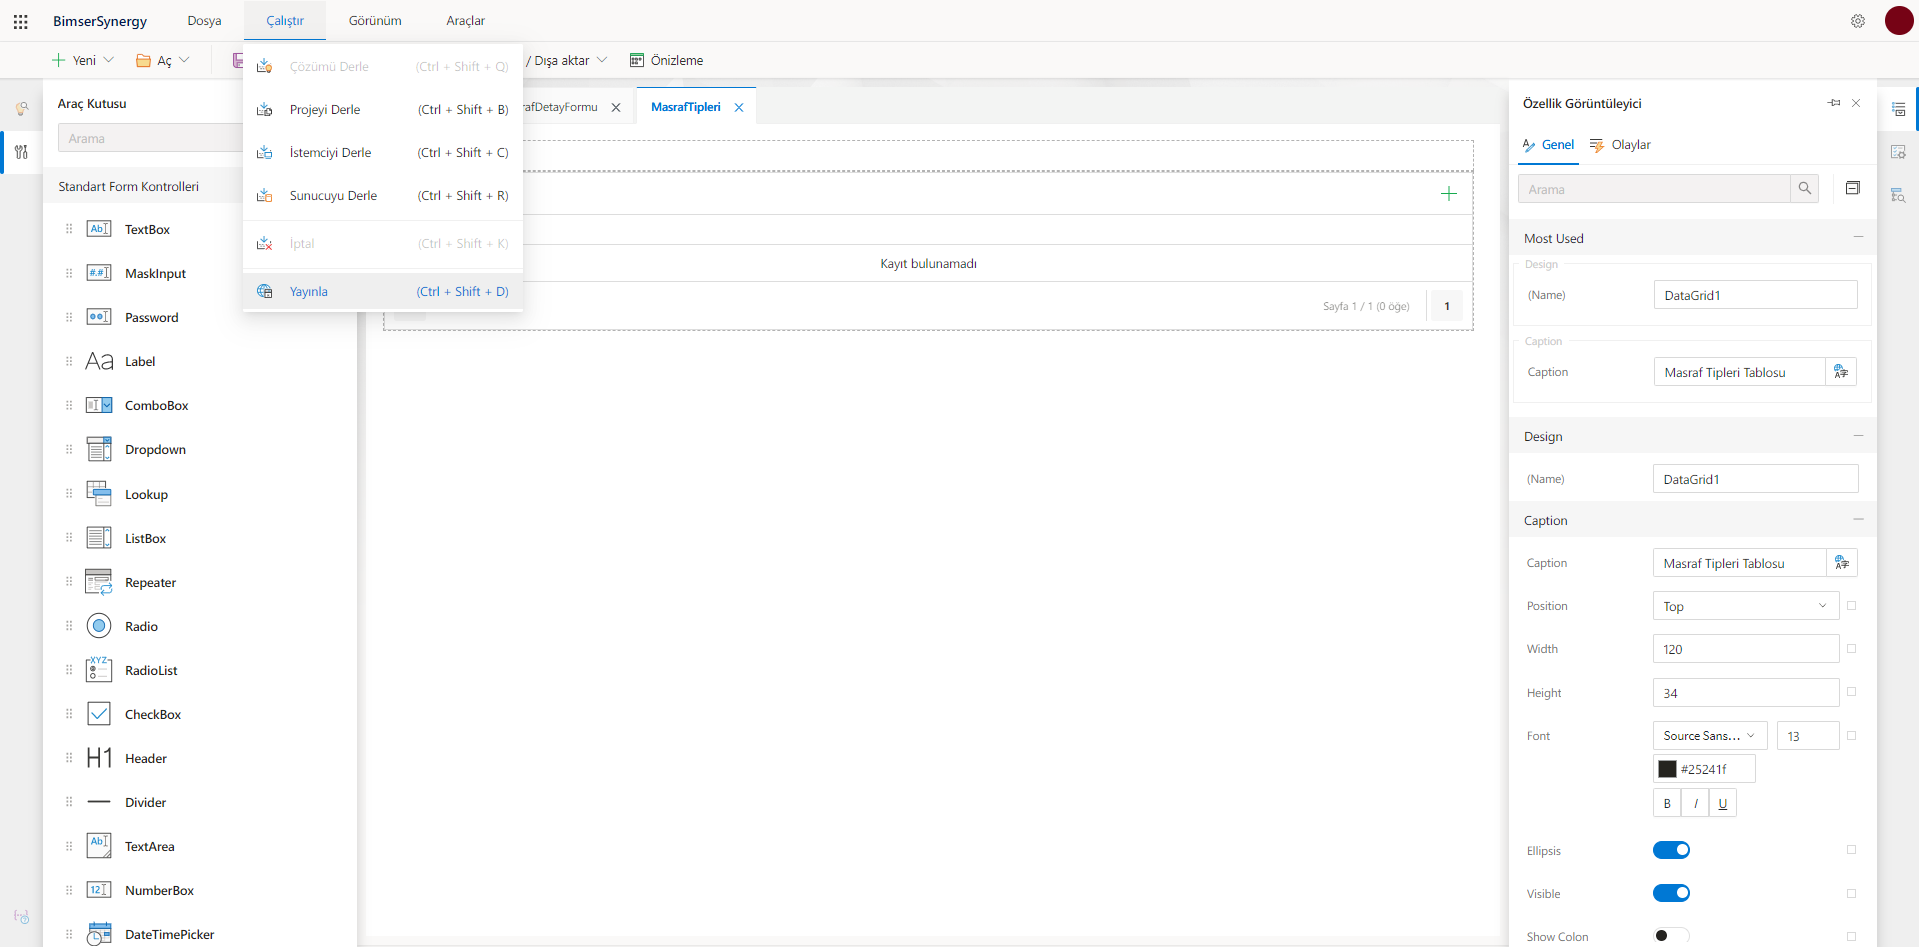
The DataGrid object is dragged onto the form for the Charge Types Table to which the Charge Types will be added. The Show Add Command, Show Delete Command and Show Delete Command properties are enabled on the Editing Setttings tab so that data can be added, edited, and deleted from the table.
To create the columns that should be in the Charge Types Table, go to the Columns properties under the Appearance tab.

Because the primary key selection is mandatory in the columns of the DataGrid, an ID column of type number is created first. The Caption field is entered as "ID" for the name of the column that is desired to appear in the table.
For the Name and Field Name fields, "DGID" can be entered as a different name field because the database table to which the DataGrid belongs already has an ID column.
Is Primary Key must be activated in order for this column to be selected as a Primary key.
To turn off the visibility of the column in the table, the Visible property is disabled. The user will not be able to fill in this field as they will not be able to see it, so the Auto Increment feature is activated so that the ID value can increase automatically.
An "Expense Type" column of type Text is created so that the user can define the expense types.
Clicking the Save button in Parameterized Forms during implementation will prompt the user to click Rules Manager under the View tab to give the user a notification. New Rule is added from the Rules Manager panel that opens on the right.
Because the action will take place after saving the form, the ChargeTypes form is selected as the Implementation Time. Since this will then happen on the client side, client is selected and onAfterSave is selected so that the alert can be issued after clicking the Save button.
An action name is defined for the rule, such as "Form Successfully Saved!". Success is selected as the Warning type so that the background color of the warning message indicating that the save operation was successful is green.
The project must be published in order to add data to the table in the Parameterized Form.
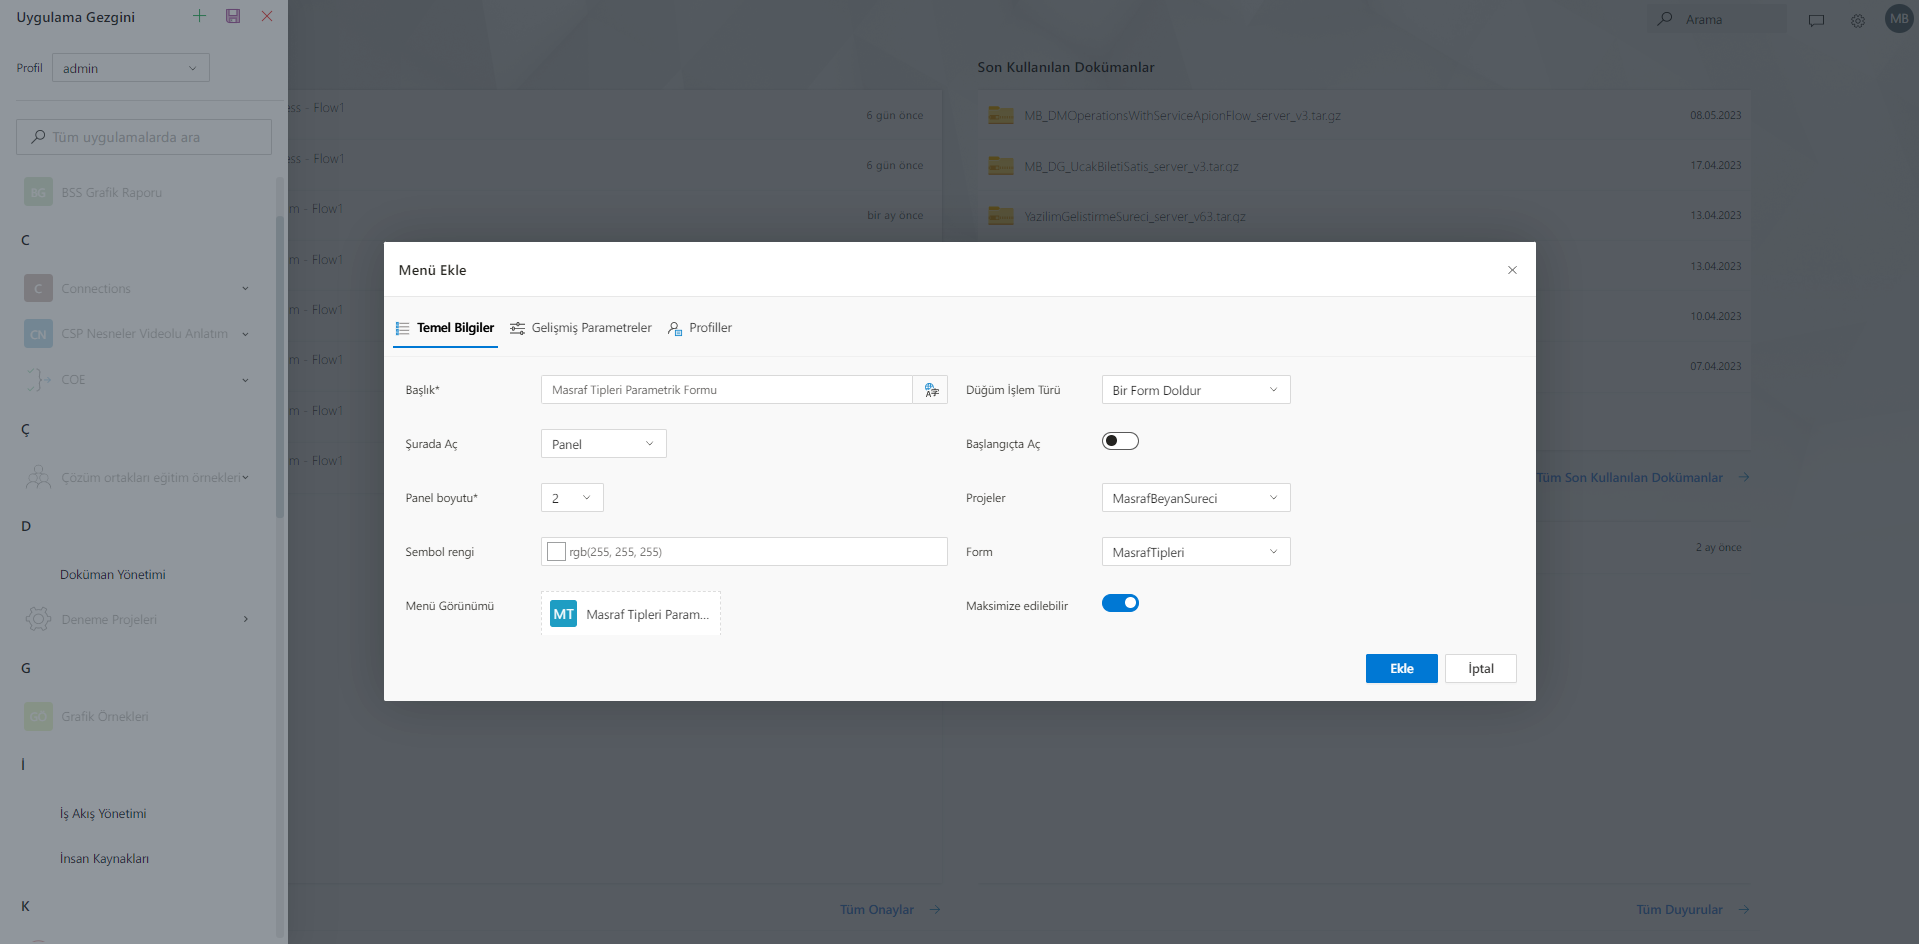
After the project is published, go to the application explorer from the management tools icon in the upper right in the Web UI. In the panel that opens on the left side, the add icon is clicked. From the drop-down menu insertion window, the Fill a Form option is selected for Node Operation Type of the menu titled "Charge Type Parametric Form".
After selecting the ChargeDeclaration Process in the Projects field and the ChargeTypes form in the Form field, the menu addition process is completed by selecting a previously created profile from the Profile tab that is desired to appear in the menu of this application.
Click on the nine-dot icon in the upper left corner of the Web UI. The application is started by navigating to all the projects at the bottom of the panel that opens.
After the form is opened, the expense types are entered by clicking the + sign in the upper right corner of the Expense Types Table, and then the form is saved.

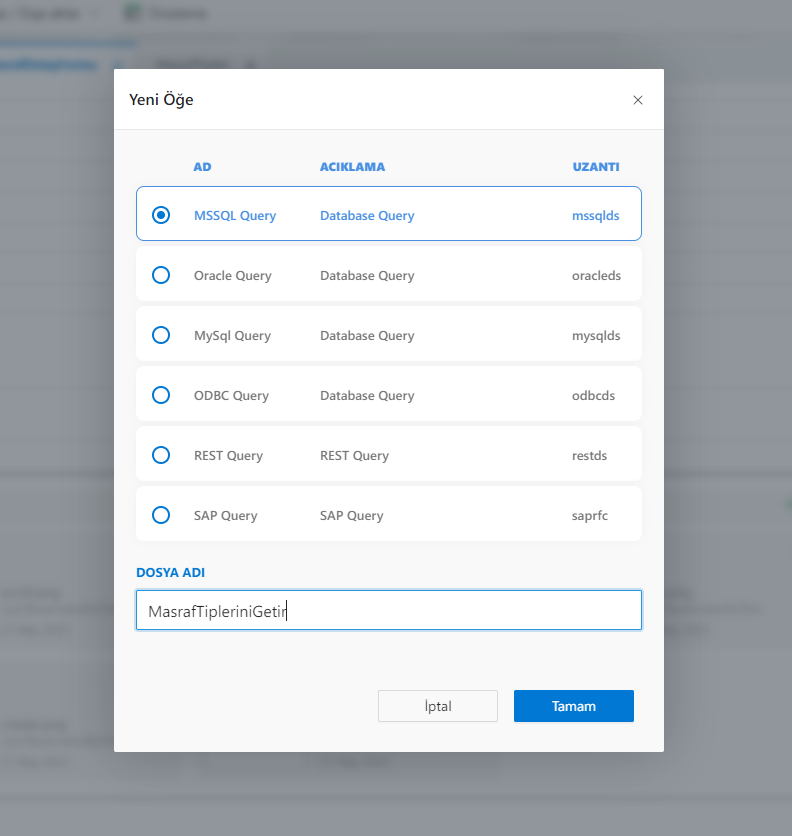
In order for the user to select the data recorded for the expense types from the ComboBox field in the Expense Detail Form, the query that retrieves the data in the table must first be written. To do this, right-click on the DataSource folder in Solution Explorer and select New Item. Since the tables for this project are maintained on SQL Server, MSSQL Query is selected in the window that opens and the query name can be given as "FetchCharges".
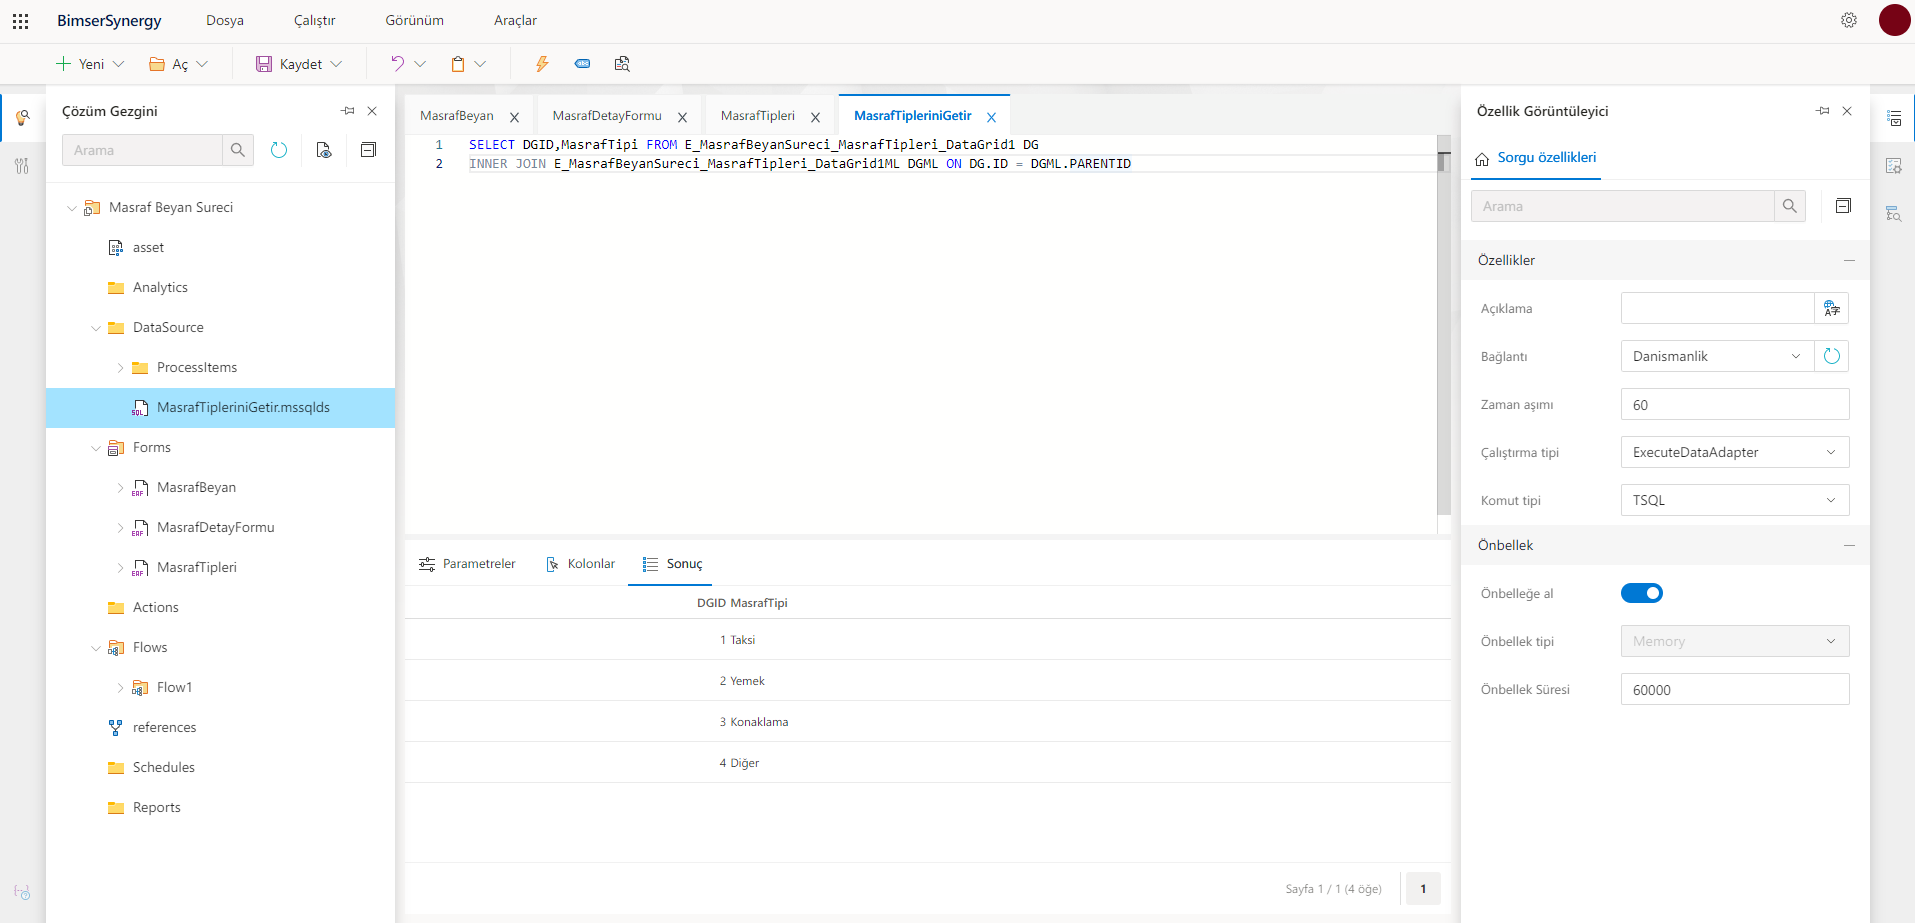
A predefined database connection in the system is selected from the connection property, and ExecuteDataAdapter is selected as the Run Type so that all fields of the query can be listed.
In order to reach the rows of the DataGrid on the form, the format of the table from which the data will be pulled must be "E_ProjeAdi_FormAdi_DataGridNesneAdi" in the query.
In the ComboBox field on the Expense Detail Form, the ID value can be stored as the value, so the DGID field and the ChargeType field for the display value must be pulled.
Because the Id field is a numeric field, it must be pulled from the DataGrid1 table.
The Expense Type field is the Text field, and since the Text fields are in a Multi Language structure, they must be fetched from the DataGrid1ML table. Because the ParentID field in the Datagrid1ML table is related to the ID field in the DataGrid1 table, a join operation is applied between these tables.
The data that the user can select from the Expense Type field in the Expense Detail Form is now available thanks to this parameterized form.