Document Transfer User Manual
This documentation explains how to use the Document Transfer application. In general, the Document Transfer application allows the files on the user's computer to be easily transferred to the CSP environment. These files are defined in an Excel file and introduced to the application. Using these definitions, the application uploads the file in each row to the CSP environment in turn.
First of all, when we run the installation file, we do not need to do any extra work. When we run the installation file, the installation is completed automatically and the installed version of the application opens on the screen.
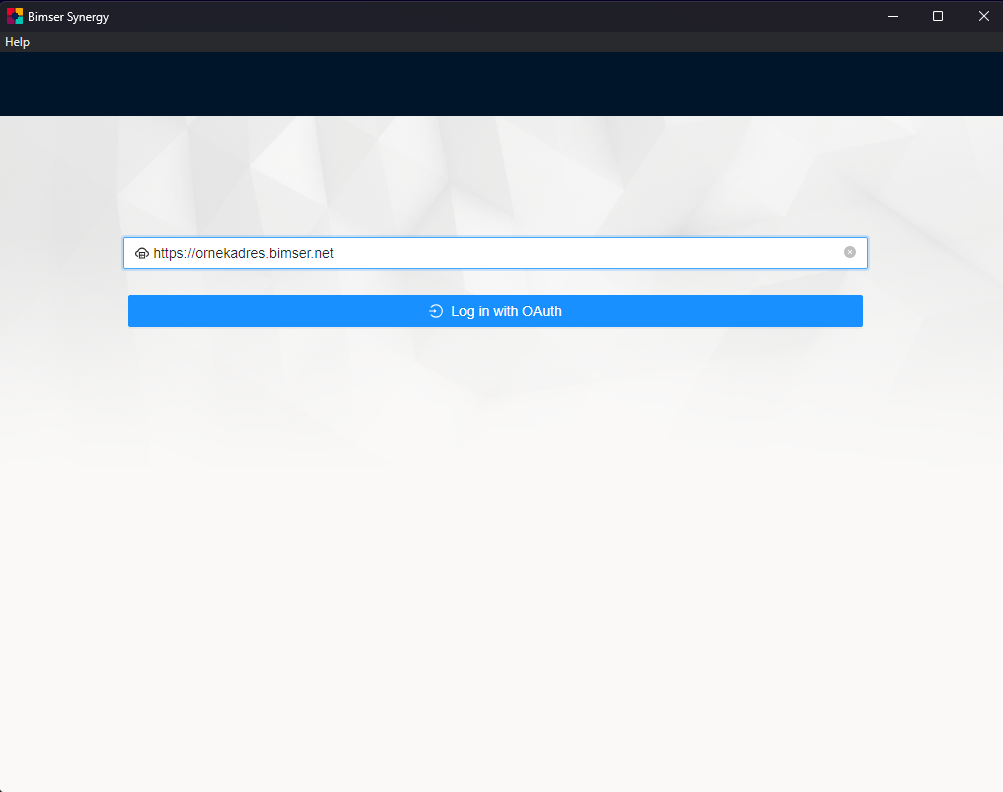
When the application runs, a field appears on the screen where we need to enter an address. In this field, we need to enter the address of the domain we are working in.
Then we come across a login panel. We need to log in to this field with our username and password.

After logging in with our username and password, a panel welcomes us. Let's talk about the parts in this panel one by one.
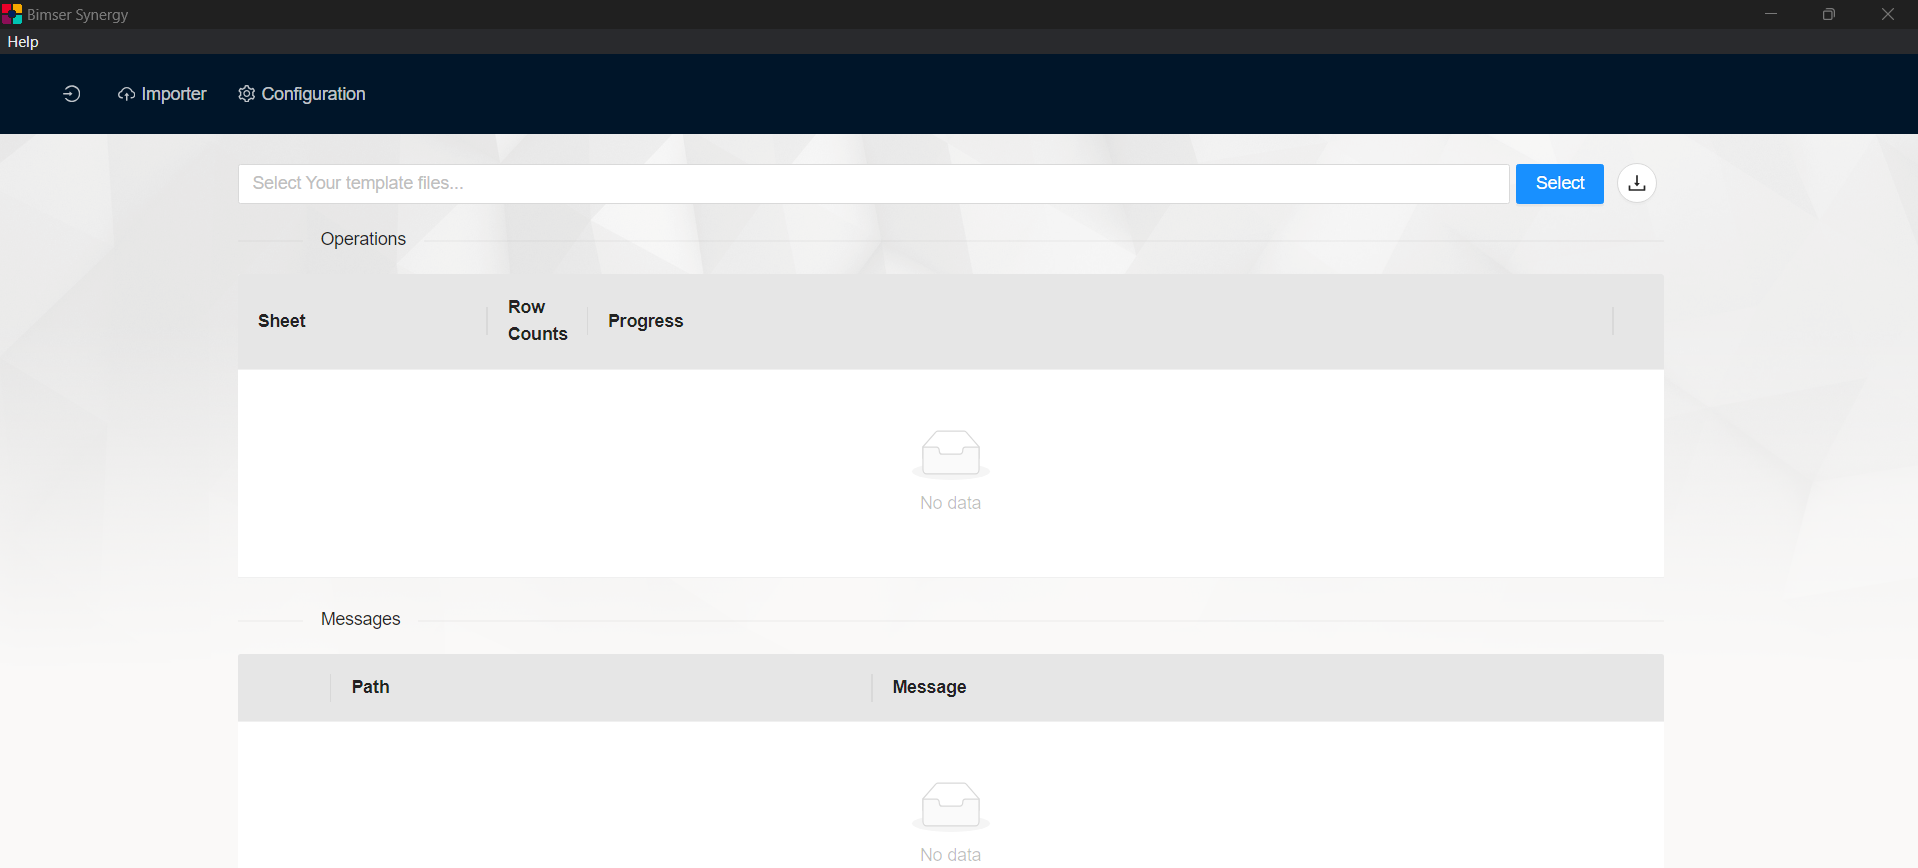
We select the Excel file containing the files we have defined with the Select button. On the right side of the Select button, there is a button where we can save a template file with sample content and showing how this file should be used. With this button, we can save our sample file and make changes to it. When we edit the sample file and save it with the Select button, we are greeted by an image like the one below.
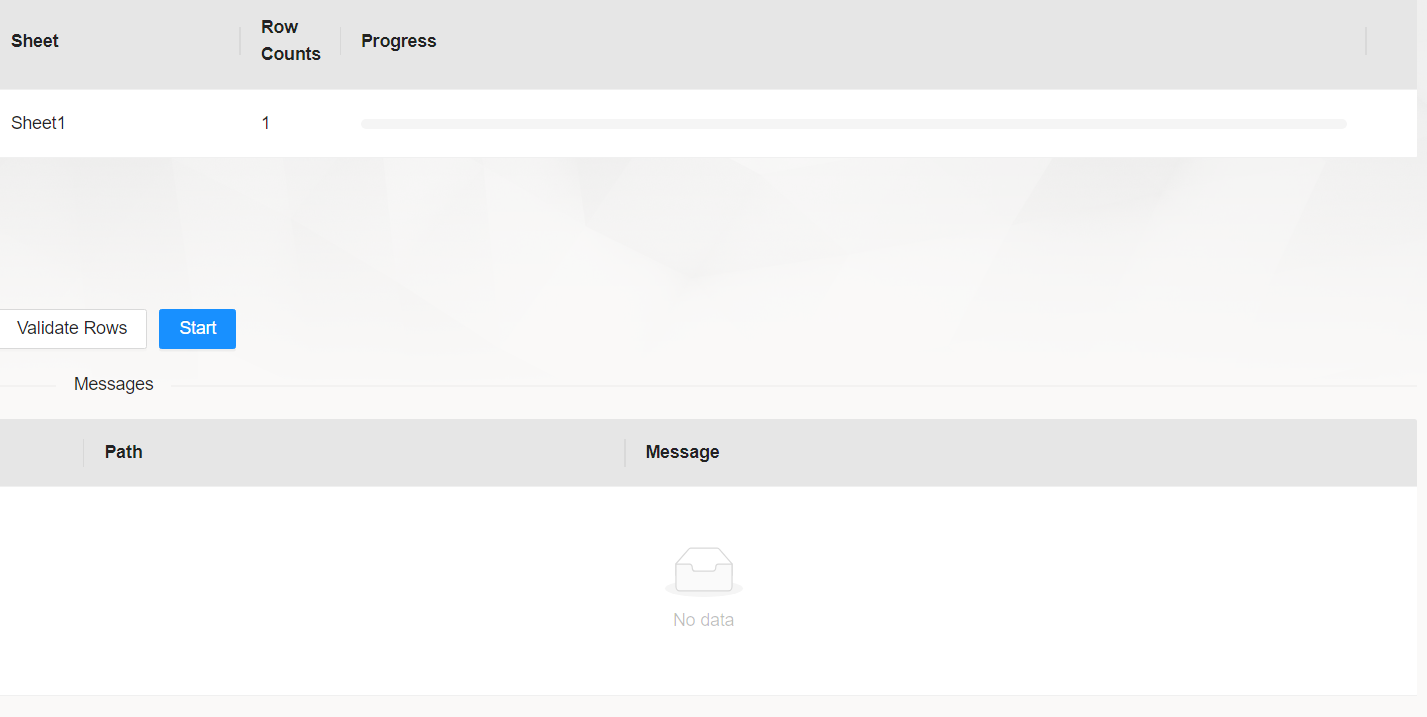
At the top we see a bar and 3 sections. The Sheet section shows the sheets of the Excel file. If you wish, you can define more than one sheet and use these sheets sequentially. In the Row counts section, it shows how many rows the Excel file consists of. The Progress section shows what percentage of the file upload has been completed.
At the bottom, we see the Validate Rows and Start buttons. The Validate Rows button allows the definitions entered in the lines to be validated. If there is no data entry in a column with the value required to be entered (for example, if a file that should be of JSON type is not of JSON type), the full line of the column and a warning message are displayed in the Messages section at the bottom. The Start button is used to start the transfer process.
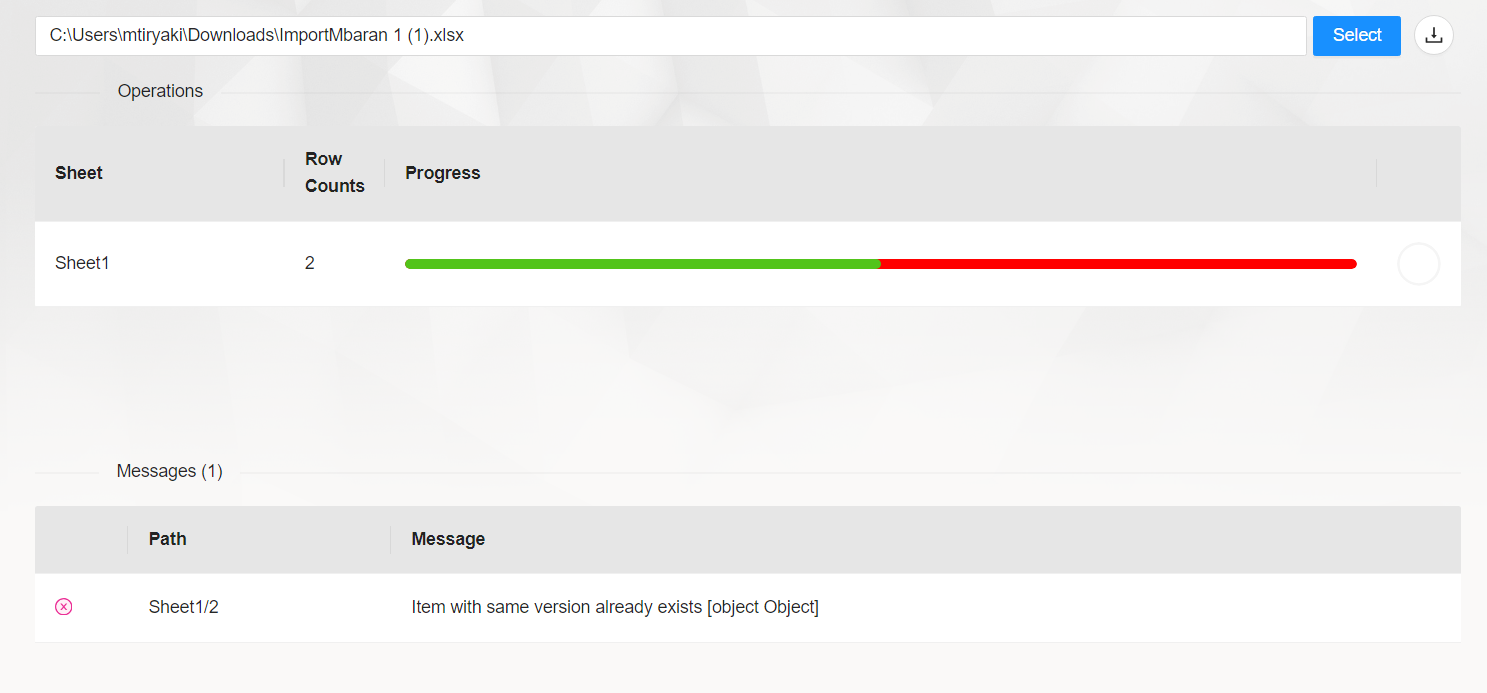
The transfer is done individually for each row. A file cannot be transferred to another file until the submission is completed. If there is an error in one line, the file transfer will be skipped for that line, the error message will be displayed and the transfer of the file in the other line will be started automatically.
After the transfer is completed, we can select again with the Select button and start the transfer again for the same or another Excel file.