What is eBA Deploy Management?
It is an application that enables the process of taking the package of the processes developed in eBA and moving/transferring these packages to another environment or making backups. It is located in the Common folder in the directory where eBA is installed.
In addition to solutions and projects, it is possible to obtain defined queries, archive definitions (e.g. process and document archive) and image files in Integration Manager.
Using eBA Deploy Management
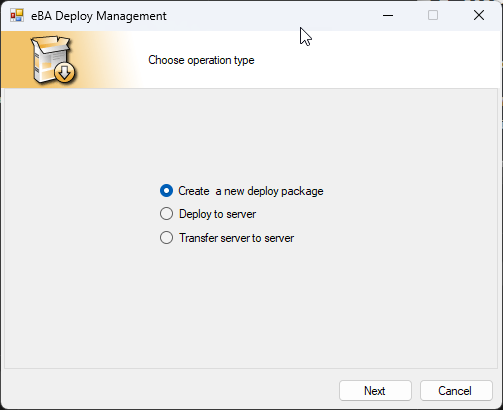
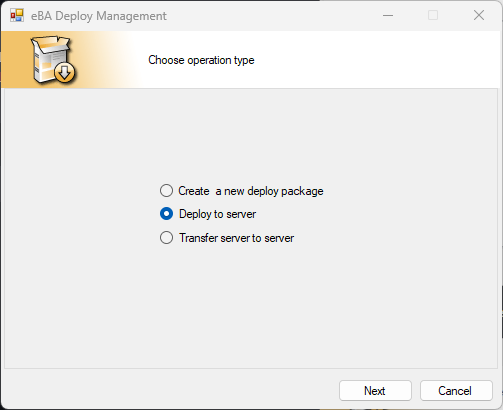
When the application is run, 3 different options will appear;
- Create a new deploy package: Used to create a new eBA package.
- Deploy to server: Used to import the eBA package file into the eBA application.
- Transfer server to server: It is used to move processes from one eBA application to another eBA application. For example, from Test environment to Live environment.

Creating an eBA Package
You can proceed by selecting the "Create a new deploy package" option.
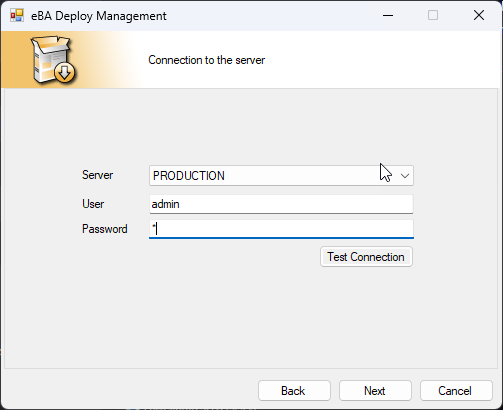
It is necessary to log in to the application to which the package will be exported, after which the transactions can be continued. By selecting the Instance information, 'Test Connection' is made with the admin user information and the session is opened by proceeding.
There are two transfer type options: Standard and Dashboard Transfer. Get the Dashboard package for Dashboard Transfer; The Standard Transfer option is selected to receive the package of queries, archives and processes.
By default, Standard is selected. When this selection screen does not appear after logging in, it will be possible to change this selection by coming back.
![]()
After the selection is made for both transfer types, the next steps are the same. After selecting the objects to be included in the package, the created eBA package file is saved on the computer.
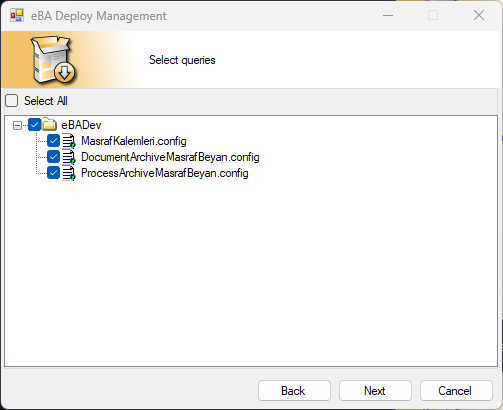
The connection and queries to be included in the package are selected and proceeded. It is not mandatory to make a choice. For example, if there is no query in the project to be obtained, it proceeds without making any selections.
Note: In Integration Manager on the system where the projects will be moved, the links selected here must be defined before the migration is performed. Queries do not need to be defined. It is sufficient to define the connections in the system to which the projects will be transferred.

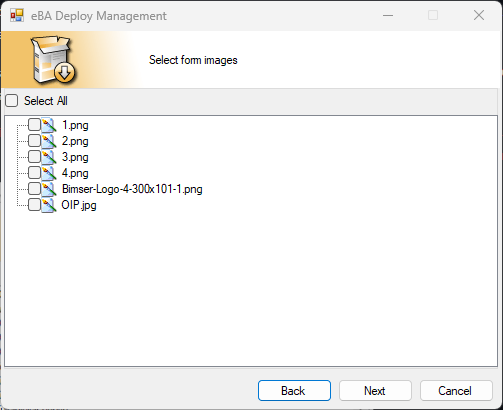
The image files to be included in the package are selected and proceeded. It is not mandatory to make a choice. For example, if there is no picture in the project to be obtained, it proceeds without any selection.
Image files are listed in a way that can be selected from those in the "//Root/system/form images" directory in eBA Document Management.
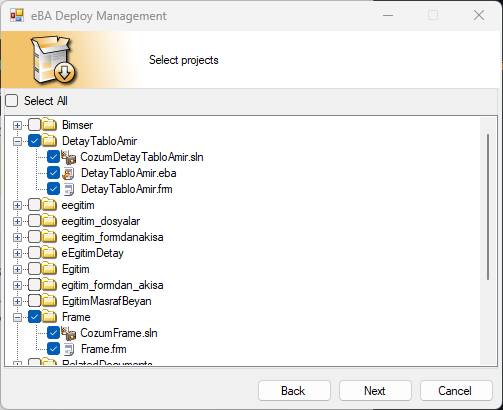
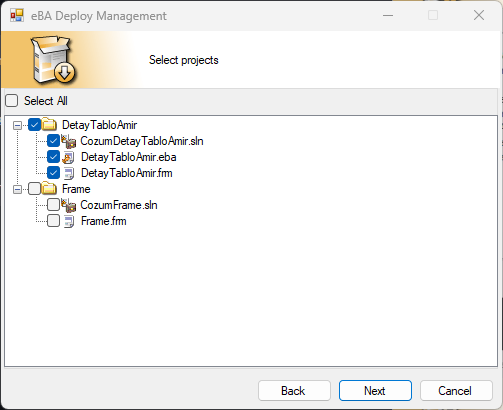
The processes to be included in the package are marked and proceeded.
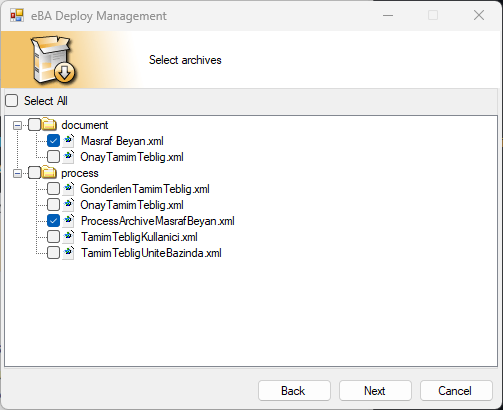
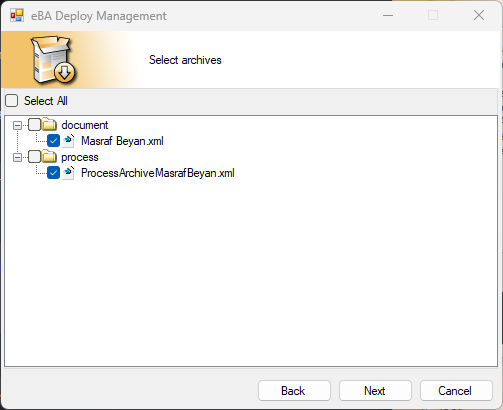
As the last selection, the archives to be included in the package are marked and proceeded.
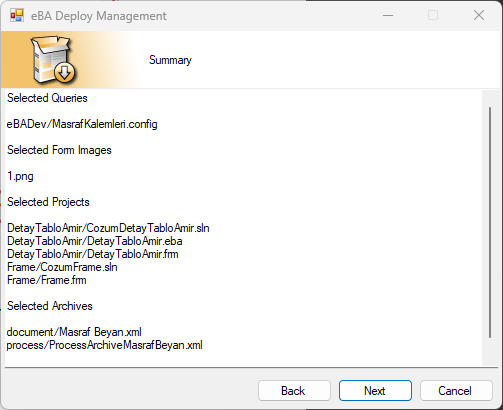
The summary of the selections made to be exported is reviewed and proceeded.
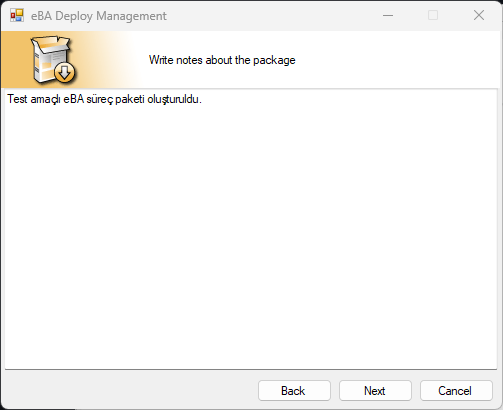
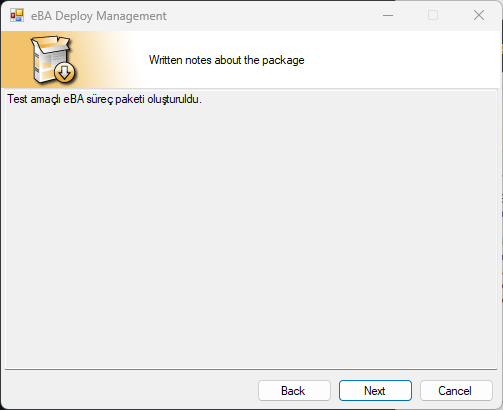
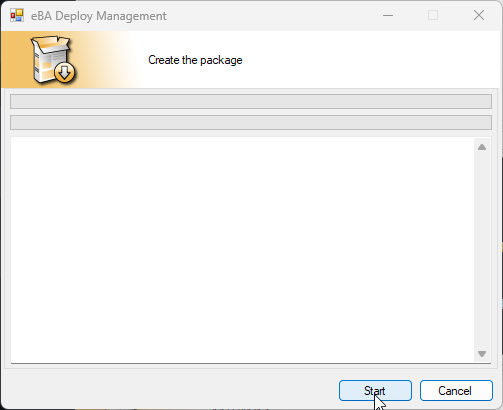
A description of the package contents can be entered. This description will be visible at the first stage when the package is imported.
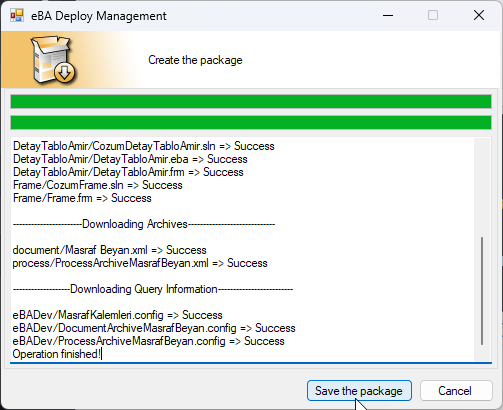
Finally, the Start button should be clicked!

After the package import process is completed, the 'Save the package' button is activated. By clicking the corresponding button, the package is saved to the computer.
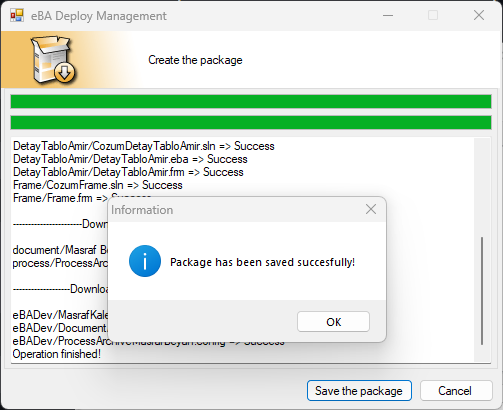
Information is shown that the package was successfully registered. With the OK button, the message box is closed.
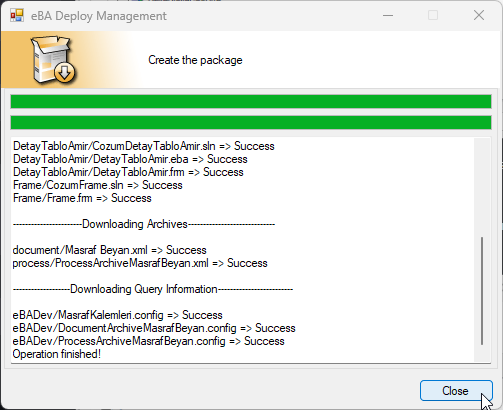
By clicking the Close button, the application is closed.
eBA Package Import
Proceed by selecting the "Deploy to server" option to transfer the package previously obtained with the Deploy Management application to the desired eBA application.
It is necessary to log in to the application from which the package will be imported, after which the transactions can be continued. By selecting the Instance information, 'Test Connection' is made with the admin user information and the session is opened by proceeding.

Located on the edge of the filename area ... button to select the package file to be imported.

The note written while exporting the selected package is displayed at this stage.
It proceeds by selecting the ones to be imported among the connections and queries.
Note: When importing import-only queries, the connection with the same name must be defined. Before importing, it is necessary to make definitions in the Integration Manager in the eBA application where the transfer will be provided, so that it is the same as the connection name in the transfer package.
Among the listed processes, the ones to be imported are selected and proceeded.
The archive definitions that are listed are selected and the ones to be imported are selected.
The summary of the selections made for import is reviewed and proceeds.

Finally, the Start button should be clicked!
In the imported system, if there is already a definition with the same name from those to be transferred, the necessary choice is made and proceeded.

After the package import process is completed, the 'Close' button is active. By clicking the Close button, the application is closed.

Transferring eBA Packet from Server to Server
You can proceed by selecting the "Transfer server to server" option.
![]()
It is necessary to log in to the Source and Destination eBA applications, to be the application to which the package is exported and to be imported, after which the operations can be continued. By selecting the instance information, 'Test Connection' is made with the admin user information and the session is opened by proceeding.
![]()
The next steps are exactly the same as in Importing the eBA Package.